
Making your own calendar is a fun activity for all ages. Whether it is a simple or a professional calendar, you can make it as long as you prepare some paper and glue. You can also download a calendar template directly from the Internet, or use a calendar-making software to complete it. It is a good choice to give your calendar as a gift to family and friends, whether it is Christmas or other holidays. The following will introduce how to make a calendar in detail, and start making your own calendar!
1
Prepare A4 size white paper or colored cardboard. Card paper is thicker than ordinary white paper, and calendars made of card paper are more durable.
2
Use a ruler to draw a table with 7 vertical rows and 5 horizontal rows. Draw tables on 12 pieces of cardboard, each piece of paper represents a month. Make sure that each cell has the same width and height, and no line is bent. Draw with a pencil first, and when you have adjusted the size of each cell and the lines have been drawn straight, you can trace it again with a permanent marker.
3
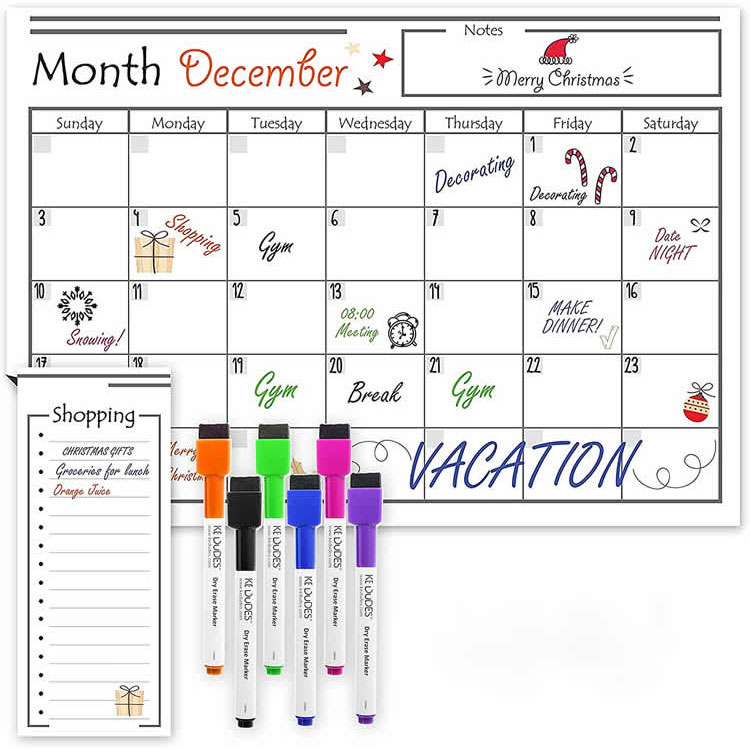
Write down the month. Write the month at the top of each card-January, February, March, April, May, June, July, August, September, October, November and December. Write the month in a larger size, using watercolor pens, colored pencils, or colored markers. Make sure to write the correct month.
4
Mark the day of the week. Write Monday to Friday in the first row of the form.
5
Fill in the date. The date should be written in the upper right corner of each cell. First find out the calendar of the previous year and see what day of the week the first day starts. For example, if the last day of December of last year was Wednesday, then the first day of January of this year was Thursday. Make sure that the number of days in each month is accurate, because there are large and small months in the twelve months of a year. In order to make it easier for you to remember the number of days in each month, you can remember this formula: April, June, September, and November have 31 days, except for February, the remaining 30 days, normal February 28 days, leap years February 29 days .
6
Decorate the calendar. Each page of the calendar can be decorated according to your own wishes. Watercolor pens, colored pencils, markers, and crayons are all in the battle; stickers, sequins, and glitter glue are not bad; most importantly, use your imagination!
7
Mark important days. Mark all important dates on the calendar, such as birthdays, Christmas, school days, etc. A more creative way is to find a picture related to this day and paste it on the corresponding date. For example, if your sister’s birthday is on May 6, you can cut a photo of her and paste it on May 6. You can also post a picture of a Christmas tree on December 25; you can post a witch or ghost on Halloween; and you can post a fluffy bunny on Easter.
8
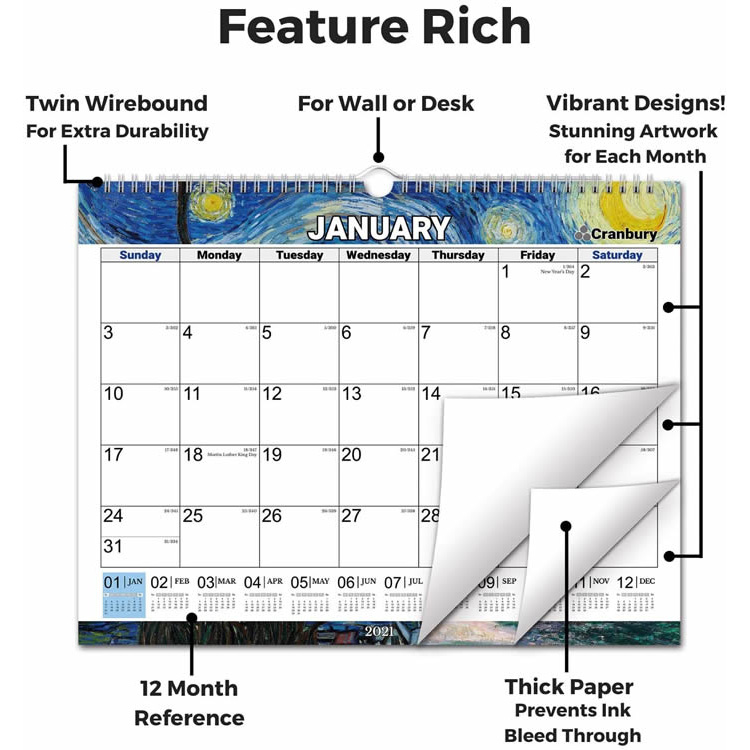
Hang up the calendar. Cut two holes at the top of each piece of cardboard. Note that the edges of the holes must be smooth. Find a long string, twine or cotton thread, and thread both ends into the hole so that you can hang it. Hang the calendar on a hook or nail, whether you want to hang it in the bedroom, in the kitchen or in the classroom. Don’t forget, you can draw a cross on the date every day.